Step by Step Guide to Building an Interior Wall in a Mobile Home
Table of Contents
How to Build an Interior Wall in a Mobile Home: Step by Step Guide
Building your own interior wall in a mobile home is a great way to improve the aesthetics and the functionality of your living space. Whether you’re constructing a divider between bedrooms or creating a private office, the process is relatively straightforward and can be achieved with a few supplies from your local hardware store. Here’s a step-by-step guide on how to build an interior wall in a mobile home.
Step 1: Measure Your Wall
The first step in any wall building project is getting accurate measurements. Use a measuring tape to measure the width and length of the wall space you intend to frame. You’ll also want to measure any windows, outlets, and doors that will be incorporated into the wall space. With accurate measurements, you can plan out the installation and avoid unnecessary mistakes.
Step 2: Purchase Materials
Once you have the measurements, it’s time to purchase the necessary materials. Generally speaking, your wall will need:
- Studs: These are the vertical boards used to build the framing for an interior wall.
- Plates: These are the horizontal boards used to attach studs together at the top and bottom of the wall.
- Insulation: Most interior walls will require insulation to help regulate the temperature inside the home.
- Nails or Fasteners: These are used to attach the studs, plates, and insulation to the existing wall.
- Drywall: You’ll need drywall to finish off the wall, providing a smooth and even surface.
Step 3: Prepare the Existing Wall
Once you have all the materials for the job, it’s time to prep the existing wall. Visit the wall space where you intend to install the framing. Make sure the wall is free from any obstructions and move any pipes, wires, or insulation that might interfere with the wall’s construction.
Step 4: Cut the Studs and Plates
With the wall space prepped, you can begin the actual construction process. Begin by cutting the studs and plates to your desired length using a saw. Take extra care when cutting to ensure the pieces fit together in the wall space.
Step 5: Attach the Studs and Plates
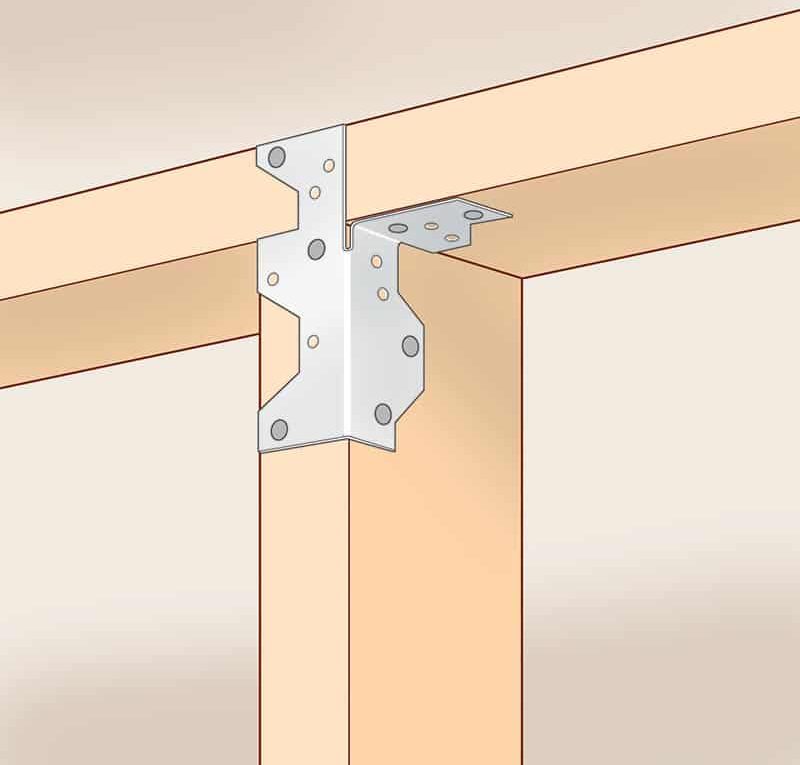
When all the pieces are cut, it’s time to attach them to the existing wall. Use a hammer and nails or fasteners to attach the studs and plates to the wall space. If you’re framing around a window or door, make sure to leave enough room around the edges.
Step 6: Install the Insulation
The next step is to install the insulation. Start by rolling out the insulation from the top of the wall and staple it to the studs. Make sure to insert the insulation firmly between the studs and leave no gaps to prevent air infiltration.
Step 7: Hang the Drywall
Drywall is the last step in the process and is used to provide the wall with a smooth and even surface for painting. Cut the drywall with a utility knife to fit your desired length, then hang it with the screws provided by the manufacturer. To make sure it’s properly installed, check that it is level and square with a level tool.
Step 8: Finish the Wall
The last step in the process is to finish the wall so it can be used. Untaped drywall joints need to be filled with joint compound and then sanded to be flush with the wall. Once the joint compound has completely dried, the wall can be painted, the trim can be installed, or wallpapers can be hung to complete the project.
In conclusion, building an interior wall in a mobile home is a simple process that doesn’t require special tools or materials. With a few supplies from any local hardware store and some basic construction knowledge, you can get started on this project in no time. Be sure to follow all the necessary steps outlined in this guide and you should have a beautiful and durable wall in no time.


